 I was asked more than once to publish a sourdough rye bread recipe for the “Bread baking for Beginners” post series. I hesitated as a rye bread is not so easy to handle as a wheat one and to know when a pure sourdough loaf is ready to bake needs some experience. But with the Rye bread without sourdough we had already the right starting point to step into the world of sticky rye dough – practising this bread before switching to sourdough is highly advisable.
To rise the bread with only sourdough in a reliable way, the sourdough has to be very active. If it is not so active or was in the fridge for a longer period, making a refreshment to activate the sourdough yeast the day before is a must. The rye sourdough is then build in two stages to archive a well balance flavour and a high activity. The two stages make use of the fact that lactobacteria and yeast differ in their temperature optima. The first, cooler and firmer stage is perfect for the growth of bacteria , which produce lactic acid and acetic acid. The warm and soft stage then favours the yeasts which are needed for a good oven spring.
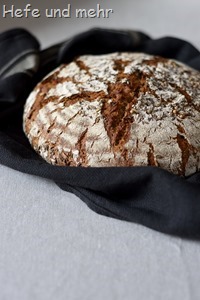
The recipe, which I created for this post contains 60% of rye and 40% of wheat flour which makes the dough sticky but still good to handle. It is a classical german “Roggenmischbrot” (literally mixed rye bread), with a slight sour and hearty flavour. Different bread spices which are sprinkled into the bread form add a spicy note to its taste.

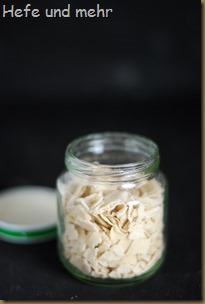
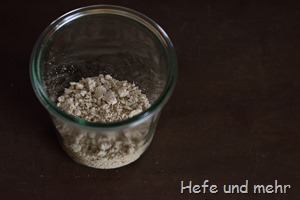 Some days ago I had to sent some sourdough per mail. That is easy when the sourdough is mixed with a lot of flour to form dry crumbs – the German name for this is “Krümmelsauer” while it is called “Gerstl” in Austria. The crumbs should be as dry and fine as possible. This reduce the amount of water and put the microorganisms to hibernation. In this state there is nearly no fermentation going on.
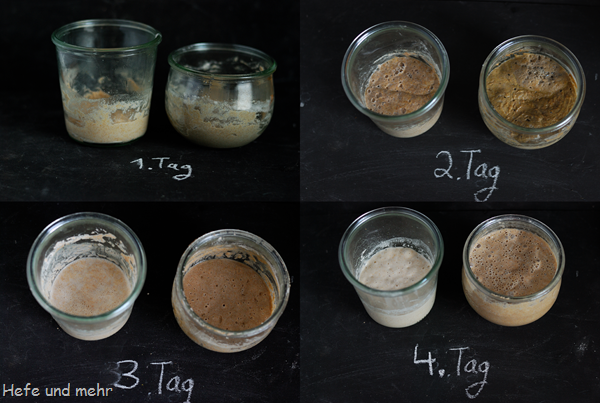
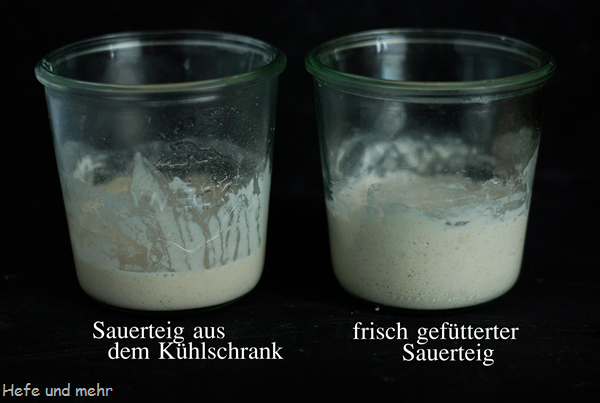 Now we feeded our new sourdough for for four or five days and it is happy bubbeling. But how to proceed now? Here is an overview on how to care for a sourdough:
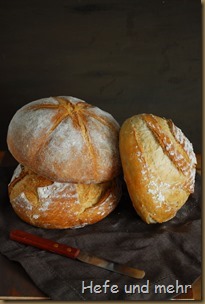 How to start baking bread? I remember that I started with searching for a recipe and just simple following the instruction. I can’t tell you anymore which recipe it was (it was before I started blogging) but I knew that it was far away from being perfect. But I already cached the bread baking virus.
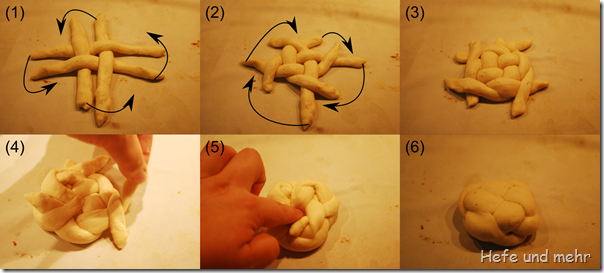
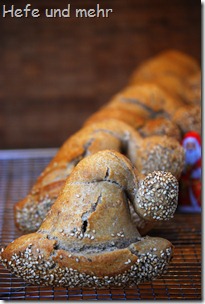 When I’m baking for my colleagues like for our christmas party today, I always try to find special forms for the rolls that fits to the season. This time I got inspired from a recipe from the TV show